Introduction:
You don’t need to decorate every room or buy a matching set of accessories. These DIY Halloween décor ideas start with paper, fabric scraps, empty jars, and things you may already have at home. Choose the style that goes with your outfit—or simply the one you’d enjoy having around for a few days.
Choose a Halloween Theme Before You Start
This gives you something to follow without making everything identical. Repeat the colors in a garland, a table setting, and perhaps a small display by the door. If you’re short on time, decorate just one spot where people will gather or take photos. A finished corner usually feels more welcoming than half-finished decorations scattered through the house.
Classic Witch Décor: Paper Bats & Potion Bottles

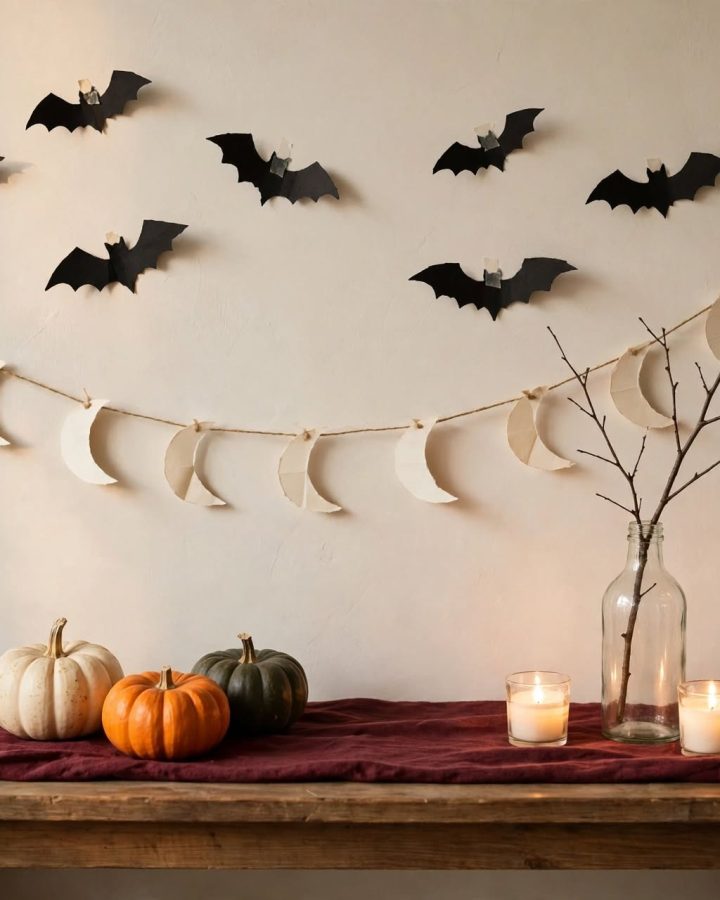
To make the bats:
1. Fold a piece of scrap paper in half and draw half a bat along the fold.
2. Cut it out and unfold it to check the shape.
3. Use it as a template on black paper.
4. Make a few different sizes, then fold the wings slightly forward.
5. Attach them with a removable adhesive suitable for your wall, testing a hidden spot first.
Arrange the bats in a loose curve rather than a straight line. Keep the bottles empty, or decorate them with paper labels and ribbon. There’s no need to mix household liquids to make pretend potions.
Vampire Décor: A Burgundy & Black Table

Use a scarf or fabric offcut as a runner, keeping it clear of food and anything hot. Set out your usual plates and glasses, then add black paper bats beside the place settings. A small vase with dark-red flowers brings the colors together.
If you have battery-operated candles, place one at each end of the table. Leave enough space for serving dishes and comfortable conversation. The decorations should make dinner feel different—not turn eating into an obstacle course.
Whimsigoth Décor: Paper Moons, Stars & Velvet

To make the garland:
1. Draw a few crescent moons and stars on the back of gold or cream paper.
2. Cut them out, keeping the shapes large enough to handle easily.
3. Lay them out beside a length of string and adjust the spacing.
4. Tape the string to the back of each shape.
5. Hang the finished garland above a shelf or against a wall.
You don’t need to cover the room in celestial patterns. One garland and a couple of rich colors are enough to suggest the mood. This is also a nice option if you want autumn decorations that don’t feel too specifically Halloween.
Emo & Y2K Décor: Black Bats with Pink & Silver

Try decorating one corner of a mirror rather than covering its entire frame. Cut out small butterflies, stars, and bats, and arrange them on the surrounding wall with a surface-safe removable adhesive. A pink scarf on the dresser or a ribbon around a small pumpkin can repeat the color.
Keep the arrangement loose and personal. The point is to make the space feel like an extension of your outfit, not a display assembled from a party kit.
Wicked-Inspired Décor: A Green & Pink Pairing
Make a small black paper witch hat for the green side and a pink paper crown for the other. For the hat, roll black paper into a cone, secure the seam, and attach it to a paper circle that forms the brim. For the crown, cut a zigzag edge along a strip of pink card and join the ends.
Place the two decorations on a table with matching ribbon or napkins. A short paper garland above them will connect the display. These are tabletop decorations, so they don’t need to fit anyone’s head.
Easy Last-Minute Halloween Décor: Tiny Paper Ghosts

1. Draw a rounded ghost shape on white paper, with a gently wavy bottom.
2. Cut it out and add two small black eyes.
3. Make two or three more in slightly different sizes.
4. Attach string to the back of each one.
5. Hang them from a securely positioned branch in a vase, or tape them directly to a wall.
Add a small pumpkin beside the display if you have one. You can leave the ghosts flat or gently curl the lower edges around a pencil for a little movement.
Make One Halloween Photo Corner
Place larger decorations beside the person rather than directly behind their head. Leave enough room to step back with the camera, and take a test photo before guests arrive. You may find that removing one busy decoration makes the whole picture work better.
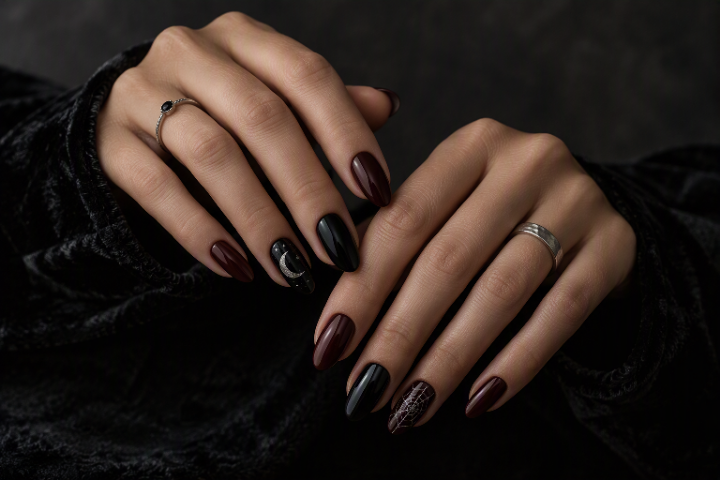
Repeat one color from your costume in the background. A burgundy detail can echo a vampire outfit, while a few silver stars can connect to a witchy manicure or layered necklaces.
Keep Your DIY Halloween Decorations on Budget

Write a short list with three columns: what I have, what I can borrow, and what I need to buy. Set your spending limit before adding anything to the last column.
If you do buy supplies, choose items you can use again. Scissors, string, plain card, and simple ribbon will outlast Halloween. A small, coordinated display is a better use of the budget than lots of unrelated pieces you don’t particularly like.
Finish the Display Without Adding More
Then check the practical details. Keep walkways clear, make sure branches and glass containers are stable, and keep hanging decorations away from places where they could catch on someone’s costume.
If you’re decorating for a gathering, leave room for bags, coats, drinks, and food. A welcoming Halloween space needs to work as a room, not just as a photograph.
Conclusion: Make the Room Part of the Costume
Choose one style, make one project, and see how it looks in your space. You can always add another detail, but you may find you already have enough.
Are you decorating for a witchy evening, a vampire dinner, or something a little more playful? Tell me which corner of your home you’d start with.


Comments
No comments yet.
Leave a comment